
Pool Cue Tip Replacement: Your Ultimate Guide To Maintaining Your Cue Stick
So, you’ve been jammin’ on some pool games lately, right? Whether you’re a casual player or a serious competitor, one thing’s for sure—your cue stick is your trusty partner on the table. But hey, even the best gear needs a little TLC now and then. And when it comes to pool cue tip replacement, knowing how to do it right can make all the difference in your game. So, buckle up because we’re about to dive deep into everything you need to know about replacing that trusty tip!
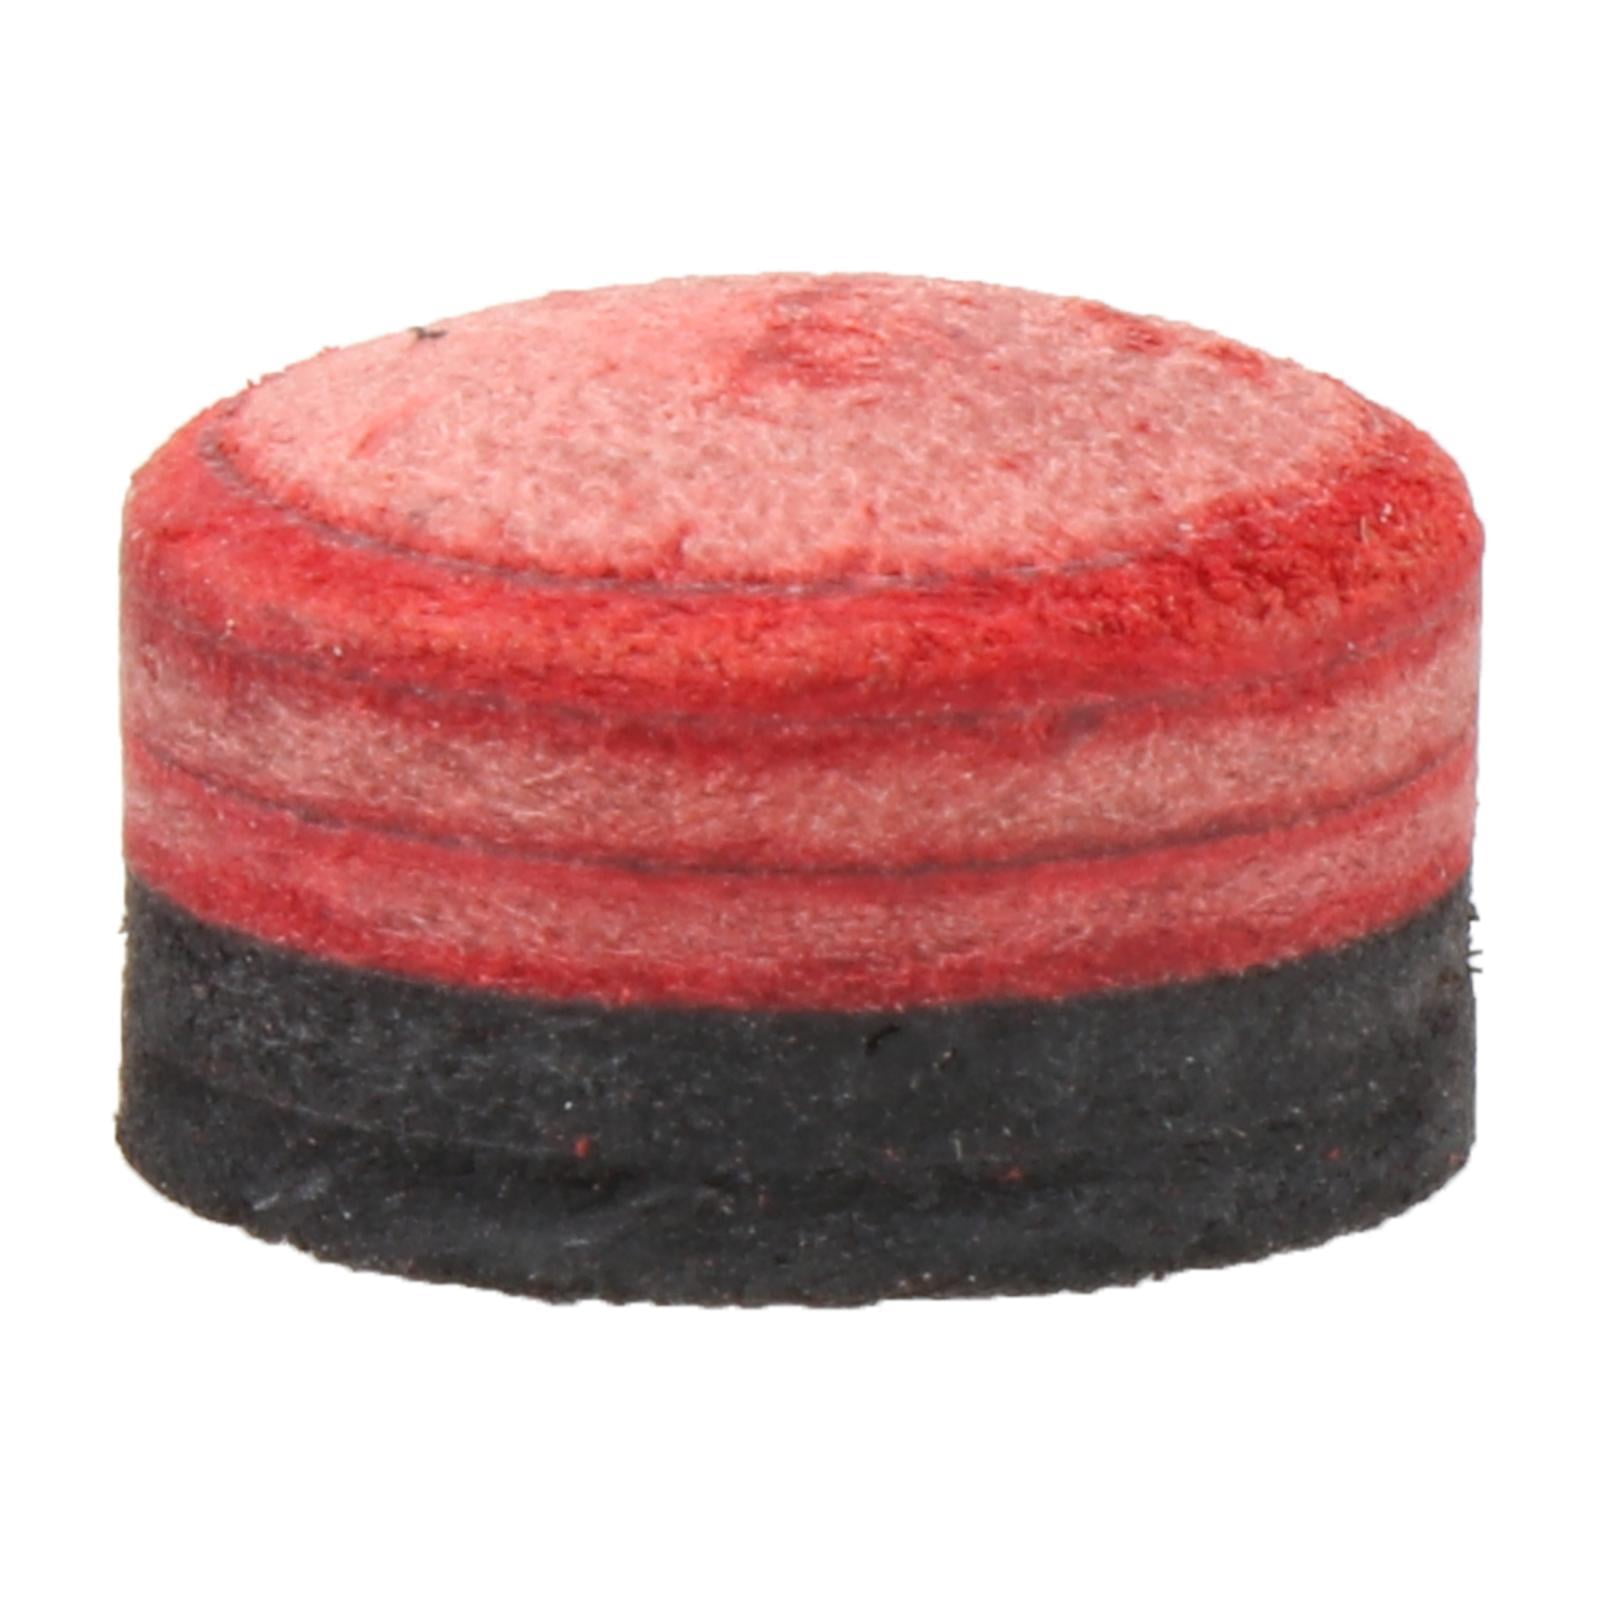
Now, before we get too far into the nitty-gritty, let’s talk about why this matters. Your cue tip is more than just a piece of leather or phenolic material stuck to the end of your cue—it’s the part that makes contact with the cue ball. If it’s worn out, cracked, or flat, your shots are gonna suffer big time. Trust me, no one likes a miscue in the middle of an important game.
Here’s the deal: replacing a cue tip isn’t rocket science, but it does require a bit of know-how. Lucky for you, we’ve put together this comprehensive guide so you can master the art of pool cue tip replacement. Whether you’re a beginner or a seasoned player, this article’s got your back. Let’s roll!
- Whats New On Movierulz 2025 Movies Reviews More
- Movierulz 2025 Find Latest Movies Alternatives Not Piracy
Why Pool Cue Tip Replacement Matters
Let’s be real, your cue tip takes a beating every time you play. It’s the part of your cue that’s constantly smacking cue balls, and over time, it’s gonna wear down. When that happens, your shots start to feel off—spin becomes unpredictable, accuracy goes out the window, and you might even start missing those crucial shots. Yikes.
Replacing your cue tip isn’t just about keeping your stick looking fresh—it’s about maintaining consistency in your game. A well-maintained tip ensures that you can apply the right amount of english, draw, or follow on your shots. Plus, it just feels better when you hit the cue ball with a tip that’s in perfect condition.
Think about it like changing the tires on your car. Sure, you could keep driving on worn-out tires, but eventually, they’re gonna let you down. Same goes for your cue stick. Regular maintenance keeps you in the game, and replacing your tip is one of the easiest ways to stay sharp.
- Your Guide To Telugu Movies 2025 Reviews Lists More
- Hdhub4u Is It Safe Streaming Legality Alternatives Explored
When Should You Replace Your Pool Cue Tip?
Alright, so how do you know when it’s time to swap out that old tip? There are a few telltale signs to look out for:
- Wear and Tear: If your tip is starting to look flat or has chunks missing, it’s probably time for a change.
- Miscues: If you’re noticing more miscues than usual, it could be a sign that your tip isn’t gripping the cue ball properly.
- Cracks or Chips: Even tiny cracks can affect your shot, so don’t ignore them.
- Poor Contact: If your tip feels slippery or doesn’t seem to connect with the cue ball as well as it used to, it’s time for a new one.
Now, how often should you replace your tip? That depends on how much you play. Casual players might only need to replace their tips every few months, while serious players who spend hours at the table might need to do it more frequently. The key is to keep an eye on your tip and replace it as soon as you notice any issues.
Choosing the Right Cue Tip for Replacement
Not all cue tips are created equal, and picking the right one can make a huge difference in your game. Here’s what you need to consider:
Types of Cue Tips
There are a few different types of cue tips to choose from:
- Leather Tips: These are the most common and offer a good balance of durability and control. They come in different hardness levels, so you can choose based on your playing style.
- Phenolic Tips: These are harder and more durable, making them great for players who like to use a lot of english or spin.
- Combo Tips: These combine leather and phenolic materials for a mix of control and durability.
Hardness Levels
Leather tips come in different hardness levels—soft, medium, and hard. Soft tips give you more spin and control, while hard tips offer more accuracy and power. Medium tips strike a balance between the two. It all comes down to your personal preference and playing style.
For beginners, a medium-hard tip is usually a good starting point. As you get more experienced, you can experiment with different types to see what works best for you.
Tools You’ll Need for Pool Cue Tip Replacement
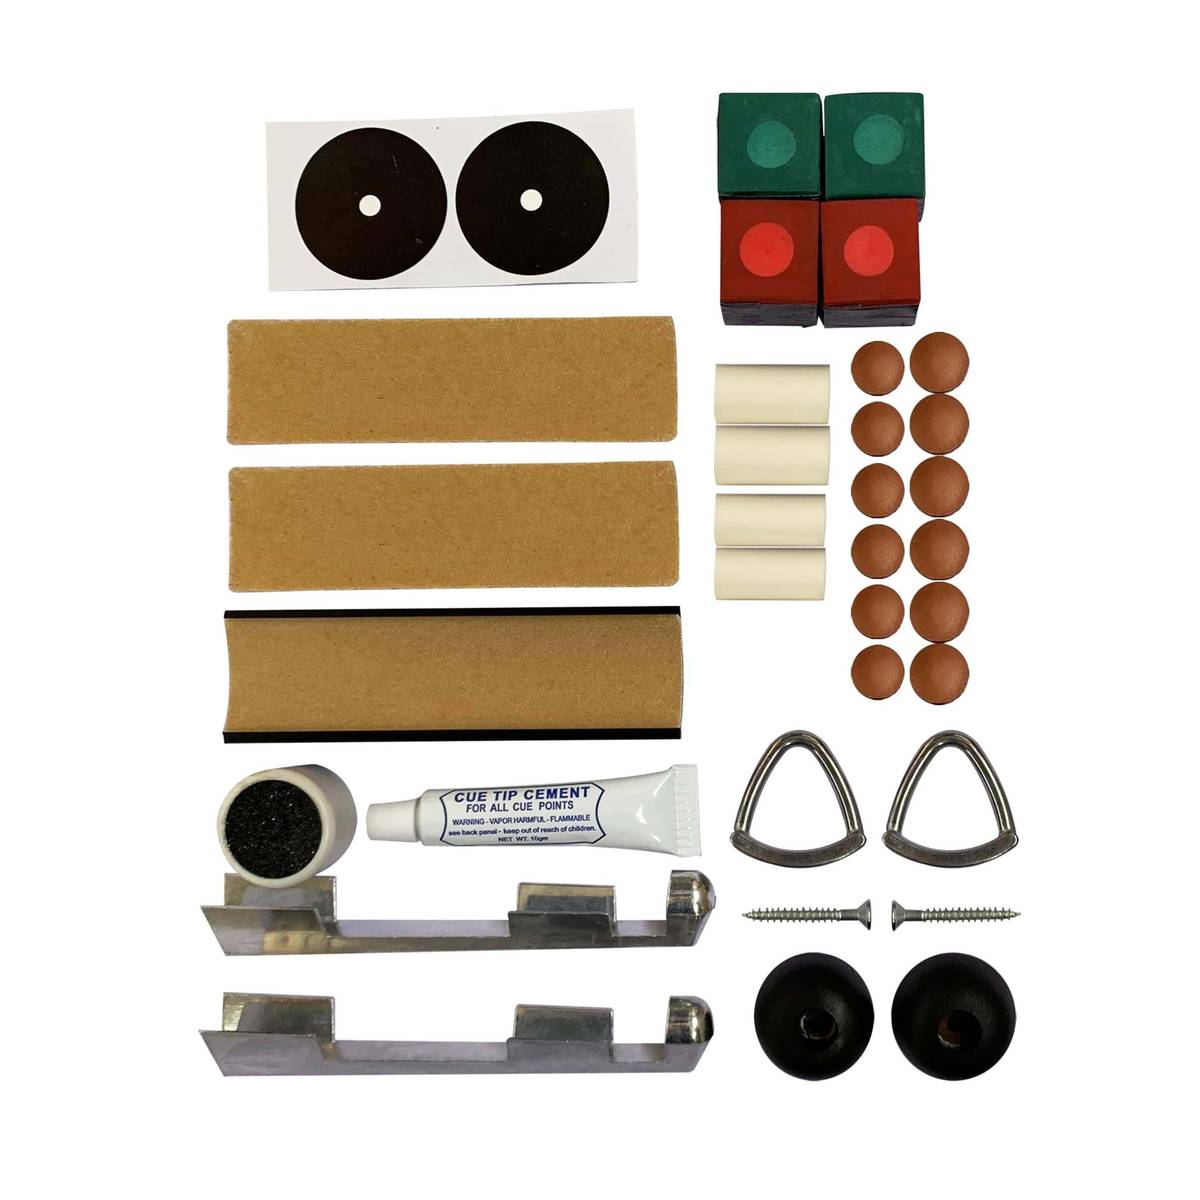
Replacing your cue tip doesn’t require a lot of fancy equipment, but you do need a few basic tools:
- New Cue Tip: Obviously, you’ll need a replacement tip. Make sure you get the right size for your cue ferrule.
- Glue: You’ll need a strong adhesive to attach the new tip. Gorilla Glue or Epoxy are popular choices.
- Sandpaper: This is for shaping and smoothing the new tip after it’s attached.
- Clamp: A clamp or rubber band can help hold the tip in place while the glue dries.
Some people like to use a tip punch or scraper to remove the old tip, but you can also do it by hand if you’re careful. Just make sure you don’t damage the ferrule while you’re working.
Step-by-Step Guide to Replacing Your Pool Cue Tip
Ready to get started? Here’s a step-by-step guide to replacing your cue tip:
Step 1: Remove the Old Tip
Start by gently prying off the old tip. You can use a scraper or your fingers, but be careful not to scratch the ferrule. If the tip is really stuck, you might need to soften the glue with heat or acetone first.
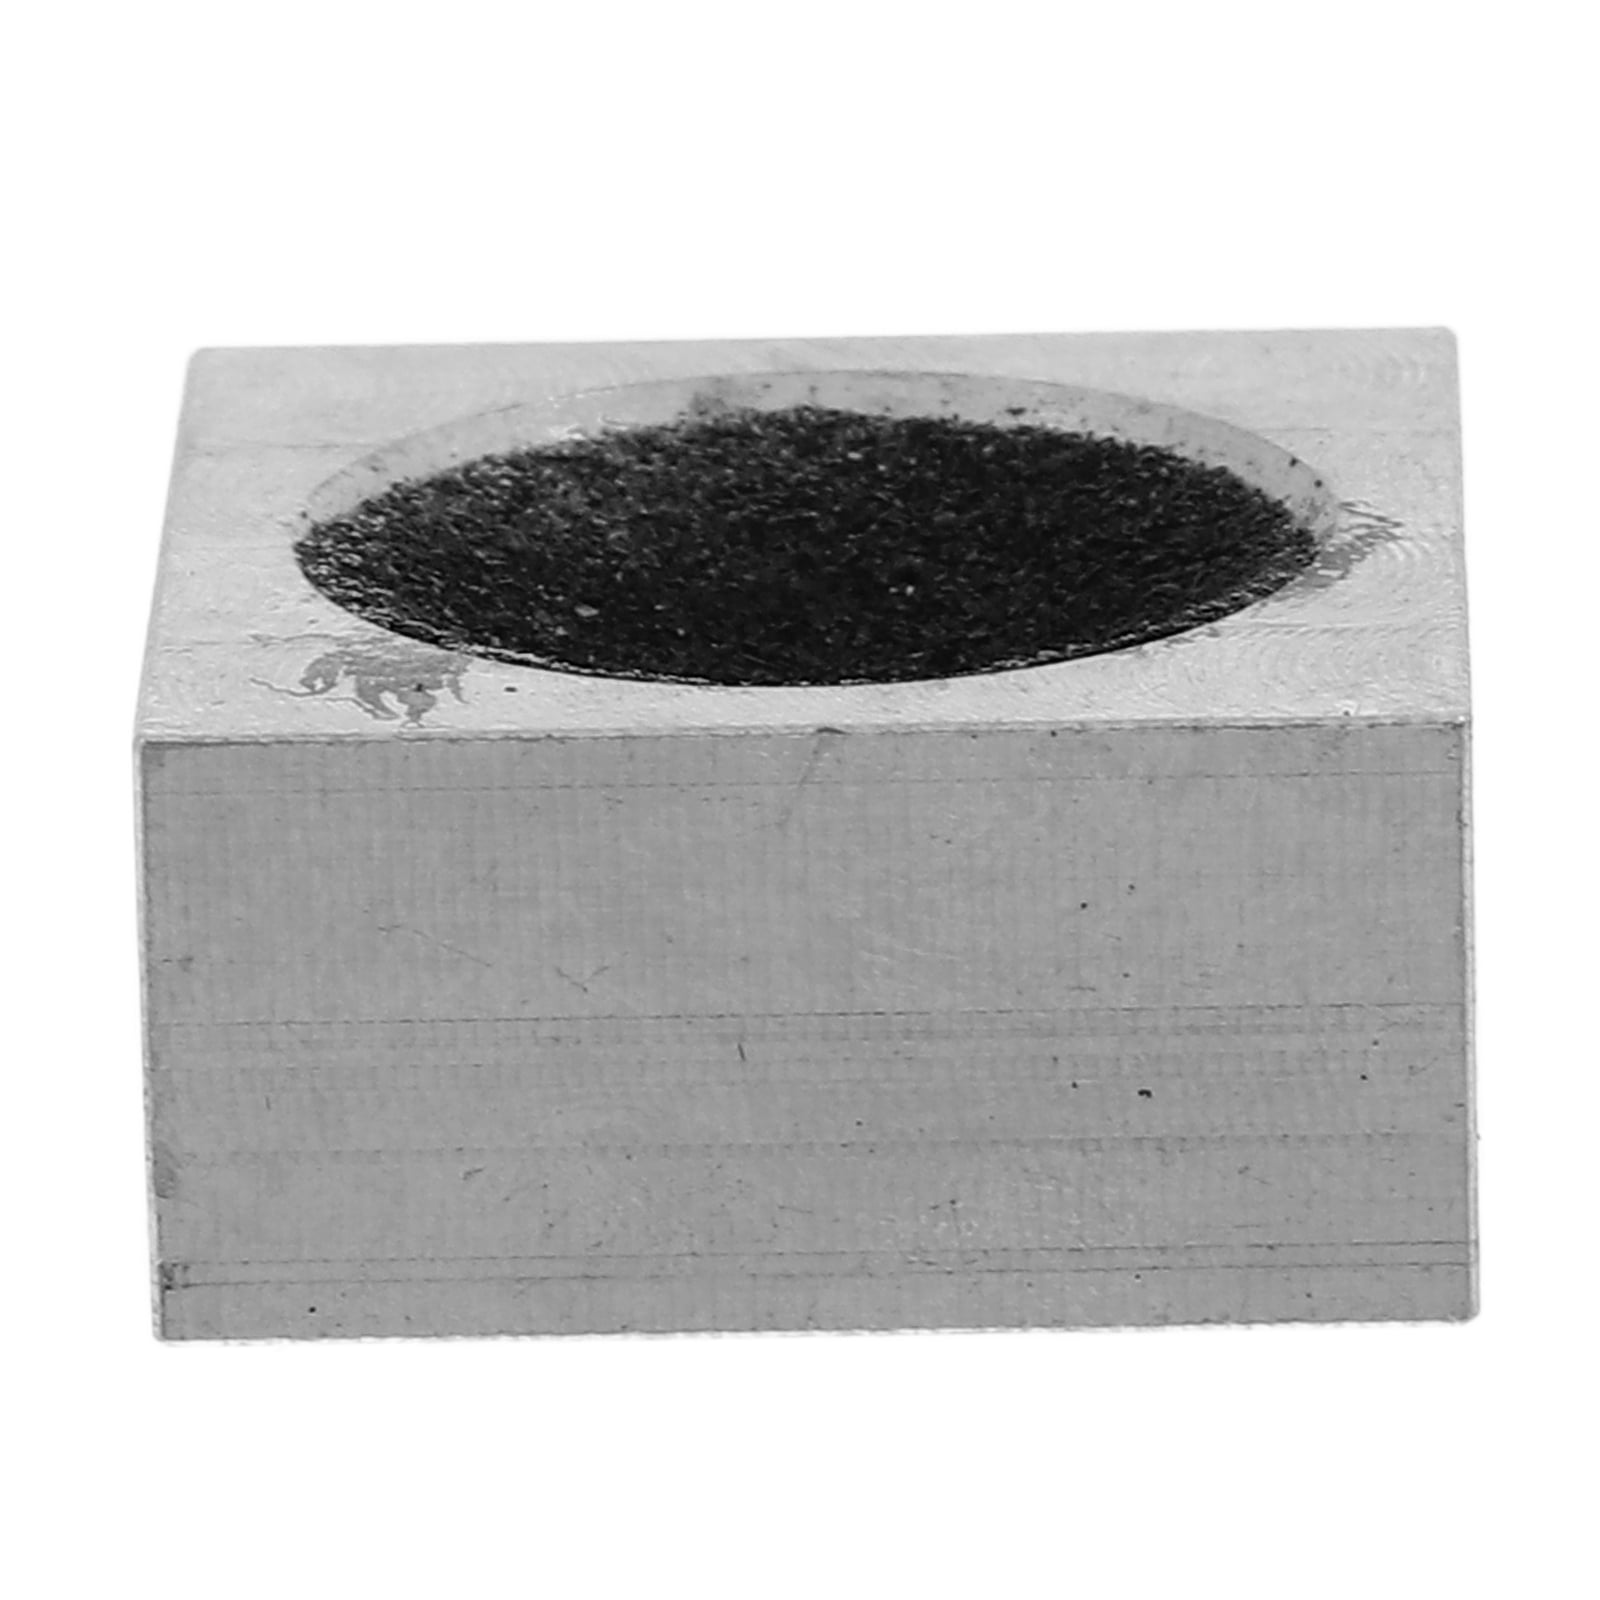
Step 2: Clean the Ferrule
Once the old tip is off, clean the ferrule to remove any remaining glue or debris. Use a damp cloth or a bit of rubbing alcohol to get it nice and clean.
Step 3: Apply Glue
Apply a small amount of glue to the ferrule. You don’t need much—just enough to hold the new tip in place. Spread it evenly to ensure a strong bond.
Step 4: Attach the New Tip
Press the new tip firmly onto the ferrule, making sure it’s centered and aligned properly. Use a clamp or rubber band to hold it in place while the glue dries. Let it sit for at least a few hours, or overnight if possible.
Step 5: Shape the Tip
Once the glue is dry, use sandpaper to shape the tip. Start with coarse grit to get the basic shape, then move to finer grit for a smooth finish. You want the tip to be slightly rounded, not completely flat.
Common Mistakes to Avoid
Even if you’re following the steps carefully, there are a few common mistakes to watch out for:
- Using Too Much Glue: Excess glue can seep out and mess up the ferrule or the tip itself.
- Not Centering the Tip: If the tip isn’t aligned properly, it can affect your shots.
- Rushing the Process: Let the glue dry completely before shaping the tip. Rushing can lead to a weak bond.
Take your time and pay attention to detail. A well-installed tip will last longer and perform better than one that’s rushed or done carelessly.
How to Maintain Your New Cue Tip
Replacing your cue tip is just the first step. To keep it in top condition, you need to take good care of it. Here are a few tips:
- Use a Chalk Holder: Always use a chalk holder to apply chalk to your tip. This helps prevent excessive wear.
- Shape Regularly: Use sandpaper to maintain the shape of your tip. A well-shaped tip ensures better contact with the cue ball.
- Avoid Moisture: Keep your cue away from moisture, as it can cause the tip to warp or crack.
By following these maintenance tips, you can extend the life of your new tip and keep your game strong.
Expert Tips for Advanced Players
If you’re a serious player, here are a few advanced tips to take your cue tip game to the next level:
Tapering the Tip
Some players like to taper their tips for better control. This involves shaping the tip so it’s slightly narrower at the top. It’s a bit more advanced, but it can give you more precision on your shots.
Experimenting with Different Materials
Don’t be afraid to try different types of tips to see what works best for your game. Some players swear by phenolic tips for power shots, while others prefer leather for control. The key is to find what feels right for you.
Conclusion
And there you have it—your ultimate guide to pool cue tip replacement. Whether you’re a beginner or a seasoned pro, keeping your cue tip in top condition is essential for maintaining consistency in your game. By following the steps we’ve outlined and taking good care of your new tip, you’ll be hitting those cue balls with precision and confidence in no time.
So, what are you waiting for? Grab your tools, pick out that perfect new tip, and get to work. And don’t forget to share your experiences in the comments below. We’d love to hear about your favorite tips and tricks for maintaining your cue stick. Happy shooting!
Table of Contents
- Why Pool Cue Tip Replacement Matters
- When Should You Replace Your Pool Cue Tip?
- Choosing the Right Cue Tip for Replacement
- Tools You’ll Need for Pool Cue Tip Replacement
- Step-by-Step Guide to Replacing Your Pool Cue Tip
- Common Mistakes to Avoid
- How to Maintain Your New Cue Tip
- Expert Tips for Advanced Players
- Conclusion
Article Recommendations
- Hdhub4u Your Guide To Bollywood Risks Watch Now
- Ullu Web Series What To Watch Why You Get No Results
Detail Author:
- Name : Miss Charlotte Mosciski DVM
- Username : zblanda
- Email : mortimer16@yahoo.com
- Birthdate : 1985-10-10
- Address : 634 Hunter Expressway Suite 597 Marvinport, OK 91105-2371
- Phone : 1-856-225-7808
- Company : Runte, Sauer and Nikolaus
- Job : Typesetting Machine Operator
- Bio : Perspiciatis odit quo magni dolore enim consequatur. Quia quam quos eos id quasi porro eum. Non asperiores qui perferendis ut magnam quia tempora.
Socials
facebook:
- url : https://facebook.com/torpe
- username : torpe
- bio : Sunt distinctio ipsum qui quo quaerat provident excepturi aut.
- followers : 3953
- following : 1916
linkedin:
- url : https://linkedin.com/in/eliane2844
- username : eliane2844
- bio : Quia et quia sit.
- followers : 6997
- following : 429
instagram:
- url : https://instagram.com/eliane.torp
- username : eliane.torp
- bio : Placeat porro qui sunt quam eum quasi. Dolor aut est vel quia numquam animi.
- followers : 1022
- following : 1360
tiktok:
- url : https://tiktok.com/@eliane.torp
- username : eliane.torp
- bio : Et nobis repellendus aut voluptas. In ratione non totam voluptas.
- followers : 5375
- following : 2572
